


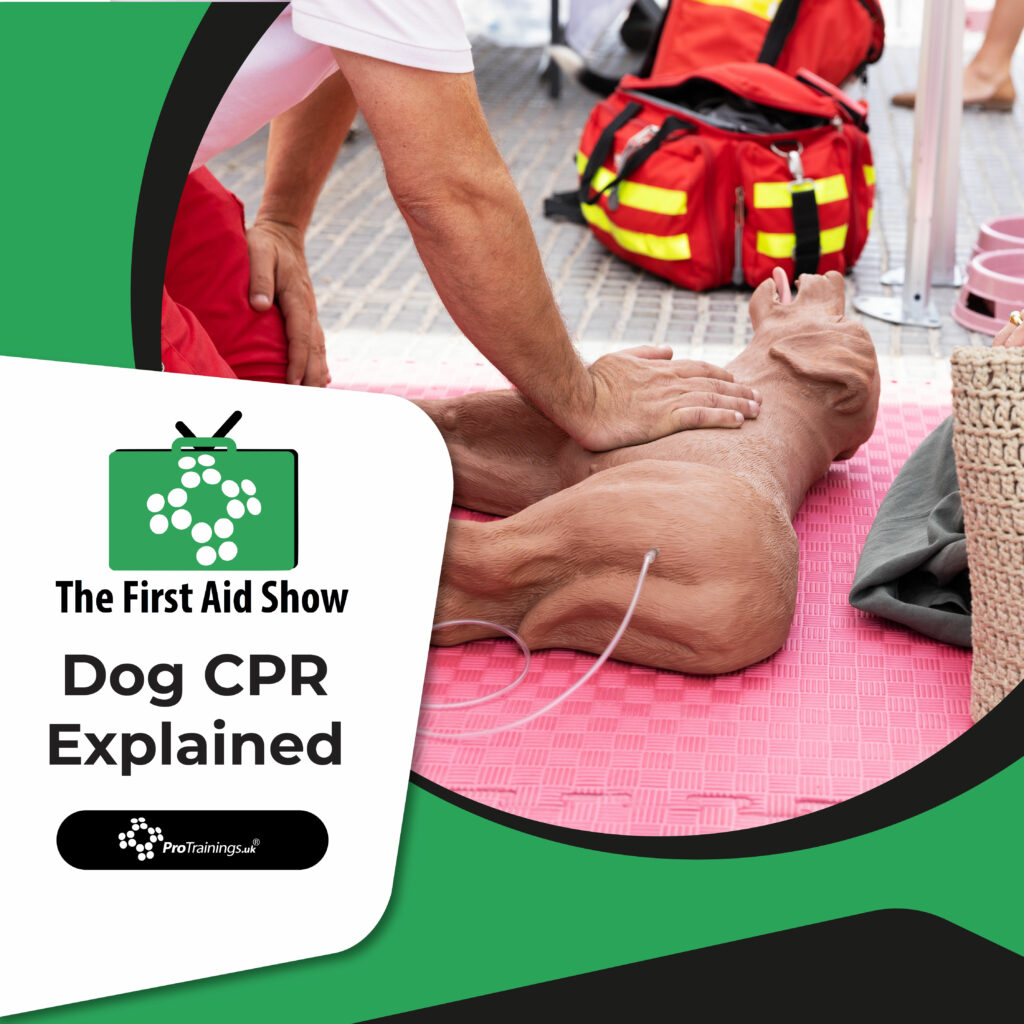
How to Perform Dog CPR is a vital skill that could help save your pet’s life during an emergency. Although many people feel nervous about performing CPR on a dog, understanding the correct process allows you to respond quickly and confidently. Furthermore, knowing How to Perform Dog CPR gives you valuable time while arranging urgent veterinary care.
Firstly, before approaching any collapsed or unresponsive dog, you must assess the scene for danger. Safety always comes first. For example, if the dog has suffered an electric shock, you could also become injured if you touch them before isolating the power source. Therefore, stop for a moment, assess the surroundings carefully, and remove any hazards before moving closer.
Check the Scene for Safety
Before helping the dog, look around the area carefully. Ask yourself why the dog collapsed and whether anything dangerous remains nearby.
Potential dangers may include:
- Electrical cables or appliances
- Traffic or moving vehicles
- Sharp objects
- Water hazards
- Aggressive animals
Consequently, if you identify any danger, make the area safe first. Only approach the dog once you can do so safely.
Check for a Response
Once the area is safe, check whether the dog responds. Call their name clearly and gently rub or touch them. Sometimes, this simple stimulation can trigger a response.
Additionally, if another person is nearby, call for help immediately. A second rescuer can:
- Phone the vet
- Place the call on speakerphone
- Help rotate compressions during CPR
- Assist with transport to the veterinary clinic
As a result, having extra help can make CPR far more effective, especially during prolonged resuscitation attempts.
Open the Airway and Check Breathing
Next, open the dog’s airway carefully. Pull the tongue gently forward and to one side because this helps prevent airway blockage.
Then, check for normal breathing by:
- Looking for chest movement
- Listening for breathing sounds
- Feeling for airflow
You should perform this assessment for up to ten seconds.
Importantly, gasping noises do not count as normal breathing. Instead, you should see or feel regular breaths moving in and out.
At the same time, check inside the mouth for visible obstructions. For example, the dog may have choked on an object. If you can safely remove the obstruction, do so carefully.
Check for a Pulse or Heartbeat
If the dog is not breathing, check for signs of circulation.
You can:
- Place your ear against the left-hand side of the chest
- Feel for a heartbeat with your hand
- Check the femoral pulse on the inside of the back leg
The femoral pulse often feels strongest and easiest to locate.
Furthermore, practising pulse checks on your healthy dog at home can help you recognise normal pulse strength and location. Consequently, you may feel more confident during a real emergency.
Start CPR Immediately
If the dog is not breathing and you cannot detect a pulse, begin CPR immediately.
CPR stands for cardiopulmonary resuscitation. The aim is to circulate oxygen-rich blood to the brain and vital organs until professional help becomes available.
Chest Compressions
Place your hands over the correct compression point depending on the breed and chest shape.
- Medium and large dogs: Compress near where the elbow meets the chest
- Greyhound-type breeds: Compress lower on the chest
- Bulldog-type breeds: Place them on their back and compress over the breastbone
- Small dogs and cats: Encircle the chest with your hands and use your thumbs
Next:
- Keep your arms straight
- Push directly downward
- Compress at least one-third of the chest depth
- Maintain a rate of 100 to 120 compressions per minute
Therefore, strong and consistent compressions become essential for effective blood circulation.
Rescue Breaths
After 30 compressions, deliver two rescue breaths.
To do this:
- Hold the mouth closed
- Keep the airway open by extending the neck
- Breathe gently into the nose
- Watch for the chest to rise
Importantly, do not blow excessively hard. Instead, only give enough air to make the chest rise slightly.
Then immediately return to chest compressions.
Continue the CPR Cycle
The CPR cycle follows a simple pattern:
- 30 compressions
- 2 rescue breaths
Continue this cycle continuously.
However, every two minutes, briefly stop to reassess:
- Breathing
- Pulse or heartbeat
- Signs of movement or recovery
If another rescuer is available, switch over every two minutes to reduce fatigue and maintain high-quality compressions.
Final Thoughts
Learning How to Perform Dog CPR can make a critical difference during an emergency. Although the situation may feel overwhelming, staying calm and following a structured process helps you provide the best possible care.
Most importantly:
- Ensure the scene is safe
- Check breathing and pulse
- Start CPR quickly if needed
- Maintain effective compressions and breaths
- Contact a vet immediately
Ultimately, practising these skills beforehand improves confidence and prepares you to act quickly when every second counts.