


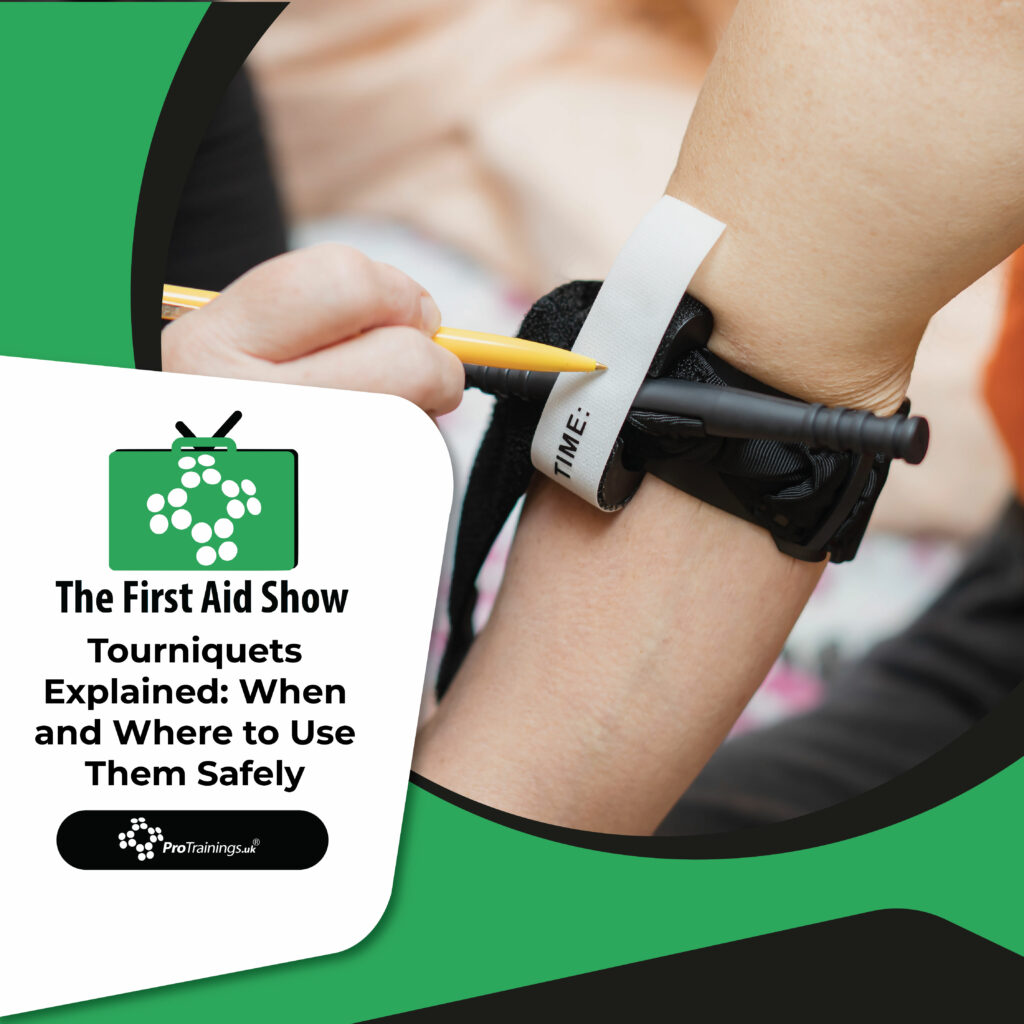

Tourniquets Explained is an essential topic for anyone involved in first aid, emergency response, or workplace safety. From the outset, it is important to understand that tourniquets are designed for use on arms and legs only. They should never be applied to any other part of the body. When used correctly, however, they are one of the most effective tools for stopping catastrophic bleeding, because they completely restrict blood flow beyond the point of application.
How Tourniquets Work
Firstly, all tourniquets work on the same basic principle. They constrict the limb to stop blood flow. However, the way they achieve this can differ depending on the design. For example, the RapidStop tourniquet uses a ratchet mechanism. In contrast, other tourniquets rely on a rotary knob or a windlass system that you twist to increase pressure.
In addition, improvised tourniquets can also play a role in emergencies. For instance, you can use a triangular bandage made of fabric, combined with a solid object such as a spanner, to create a windlass. Likewise, citizen-aid tourniquets provide another alternative. Regardless of the type, the goal remains the same: stop life-threatening bleeding as quickly as possible.
Pain, Reactions, and Casualty Safety
When applying a tourniquet, you should expect it to be painful for the casualty. Initially, the pressure causes significant discomfort. However, once blood flow stops, the limb often becomes numb, which can reduce pain over time. Even so, casualties may shout, panic, or attempt to move suddenly. Therefore, you must protect yourself and maintain control of the situation while reassuring them.
Correct Application Matters
Before applying a tourniquet, always assess the injury. Ask yourself whether direct pressure or haemostatic dressings could control the bleed. However, if bleeding remains severe, you must act decisively.
Place the tourniquet above the injury, never over the wound itself. Importantly, pull it tight by hand first. Then, activate the ratchet, windlass, or rotary mechanism. This step matters because arteries carry blood under high pressure and sit close to the bone. If you apply insufficient pressure, you may only block venous return while arterial blood continues to pump out of the wound, which worsens bleeding.
Using Multiple Tourniquets
Sometimes, one tourniquet is not enough. If bleeding continues, apply a second tourniquet above the first one, never below it. Some kits include two tourniquets. However, if yours does not, you can improvise a second using available materials.
However, you cannot place tourniquets high into junctional areas such as the groin or shoulder. In these cases, you must switch to wound packing with haemostatic agents and apply trauma dressings instead.
Monitoring and Communication
Once in place, continue to monitor the casualty closely. Check for ongoing bleeding and watch their overall condition. Crucially, record the time the tourniquet was applied. Write it on the casualty if necessary and always inform emergency services. This information helps hospital teams manage further treatment safely.
Finally, keep the casualty warm, but never hide the tourniquet. Make sure it remains visible and clearly communicated to everyone arriving on scene.
In summary, Tourniquets Explained highlights one clear message: when used correctly, tourniquets save lives. Knowledge, confidence, and correct technique make all the difference in a life-threatening emergency.